The Ultimate Tech Pack Guide

The Ultimate Tech Pack Guide
At FittDesign, we provide apparel design & tech pack services as well as clothing manufacturing to over 1000 clients .We've also created dozens of our own tech pack templates that are downloaded by many every day, so we’ve had the chance to refine our tech pack-making process to a point where manufacturers rarely have to follow up with questions. More importantly, the end product is always what the client envisioned it to be, so we’d like to share what we think tech packs are and how to make one.
Have you ever needed a tech pack? If you’re a fashion brand, a designer, or work in the apparel industry, chances are you’ve come across this term before. Although it’s supposed to be a pretty standard term, you’d be surprised how often people are confused by what a tech pack exactly is. In any case, being one of the most important tools to design and produce apparel and clothes, any manufacturer that knows what they’re doing won't even waste time with you unless you provide a tech pack.
So What Is a Tech Pack?
A tech pack (also known as a technical pack) is a comprehensive set of illustrations and documents containing every detail needed to produce a garment. It serves as the blueprint of the design.
It enables the designer to communicate with the garment maker so they are able to translate what was once the sketch of an idea into reality.
It contains very specific details that can include drawings, raw materials to use, measurements, brand standards, and other special instructions.
A detailed tech pack will help the manufacturer to have a clear understanding of how to make the specific item of clothing. It ensures that the goods are made precisely as designed, in the correct quantity and time it is needed.
Why Do You Need a Tech Pack?
Time costs money and communication is always a challenge in dealing with offshore manufacturers from other countries. Differences in terminologies and practices can sometimes be interpreted in different ways by different people.
It is frustrating to be going back and forth with minute details that can sometimes make or break designs. Using a tech pack as your holy grail during the development stage all the way through to production will save you significant amounts of time, money, and misunderstandings along the way.
It serves as a guide and a basis for both the brand and the maker to create products while being efficient and cost-effective.
Making one design in several colorways in at least 4 size breakdowns costs a lot of money. You can always plan your course of action but sometimes things just don’t go as planned.
If somebody misses out on a certain instruction or makes a mistake on particular details it can be very expensive. In these cases, somebody needs to be accountable.
Sometimes the errors can be negligible. Other times it can be quite damaging and comes with a hefty price tag. Using a tech pack will help ensure that these kinds of mistakes, misinterpretations, and omissions can be avoided. In case it happens, it is easier to know what went wrong and how the situation can be rectified.
Using a tech pack as a guiding tool to help you navigate the industry is the standard. It is efficient, cost-effective, and the easiest way to avoid unnecessary mistakes.
What Are The Tools Used To Create a Tech Pack?
Though it is a bit tedious, the tech pack can be created manually using just paper, pens, rulers, and coloring materials to create the illustrations and detailed instructions for a particular design.
The advantage of using freehand drawing is that you don’t need to pay for expensive computer programs to be able to create it as long as the drawings and instructions are clear. That is the most important thing. The disadvantage is, that you have to start every time from scratch.
What is more common and what is considered the industry standard is the use of computer-aided programs like Adobe Illustrator or CorelDRAW for the drawings and Microsoft Excel for the specs and worksheets.
There are also templates that can be purchased online that will help you organize the tech pack and make it easier for you not to miss out on any of the details needed. Templates are great because you can simply reuse them with new projects and avoid having to recreate a tech pack from scratch.
Either way, the most important thing is to remember that it has to include everything necessary for the manufacturer to be able to interpret the designer’s idea to produce the garment.
What's Inside A Tech Pack?
Every brand or company has its own checklist when it comes to making tech packs. Some are more detailed than others. While it is good to be as detailed as possible, there are a few essential components that are standard and should not be missed.
GARMENT ILLUSTRATIONS
The most basic part of the tech pack is the drawings. This represents the idea in visual form. It is important to have a colored illustration to see how the garment will look like when done. This will show the color of the main fabric, secondary fabric combination, and embroidery or print details scaled to size. This should also give a general idea of what the garment’s front and back view looks like. Sometimes if the garment is more complicated, it will also be helpful to show the side view.
It should also include a technical black-and-white drawing that shows the garment's construction. This page will include the kinds of stitches, and the general silhouette, it should describe the placement of fabric combinations and trims, patches, and appliques if there are any. It can also include details of the thickness of the thread to use, SPI (Stitch per Inch), and detailed descriptions of parts of the garment that need to be highlighted. If the garment has a fake welt pocket at the left panel, it should clearly state so. Always remember that details like these can affect the cost of the garment as well.
In most cases, one design comes in more than one color. If this is the case then the colorways including color combinations of fabric, thread, and sundries should be shown so the factory is aware of how many kinds they are working on for one design.
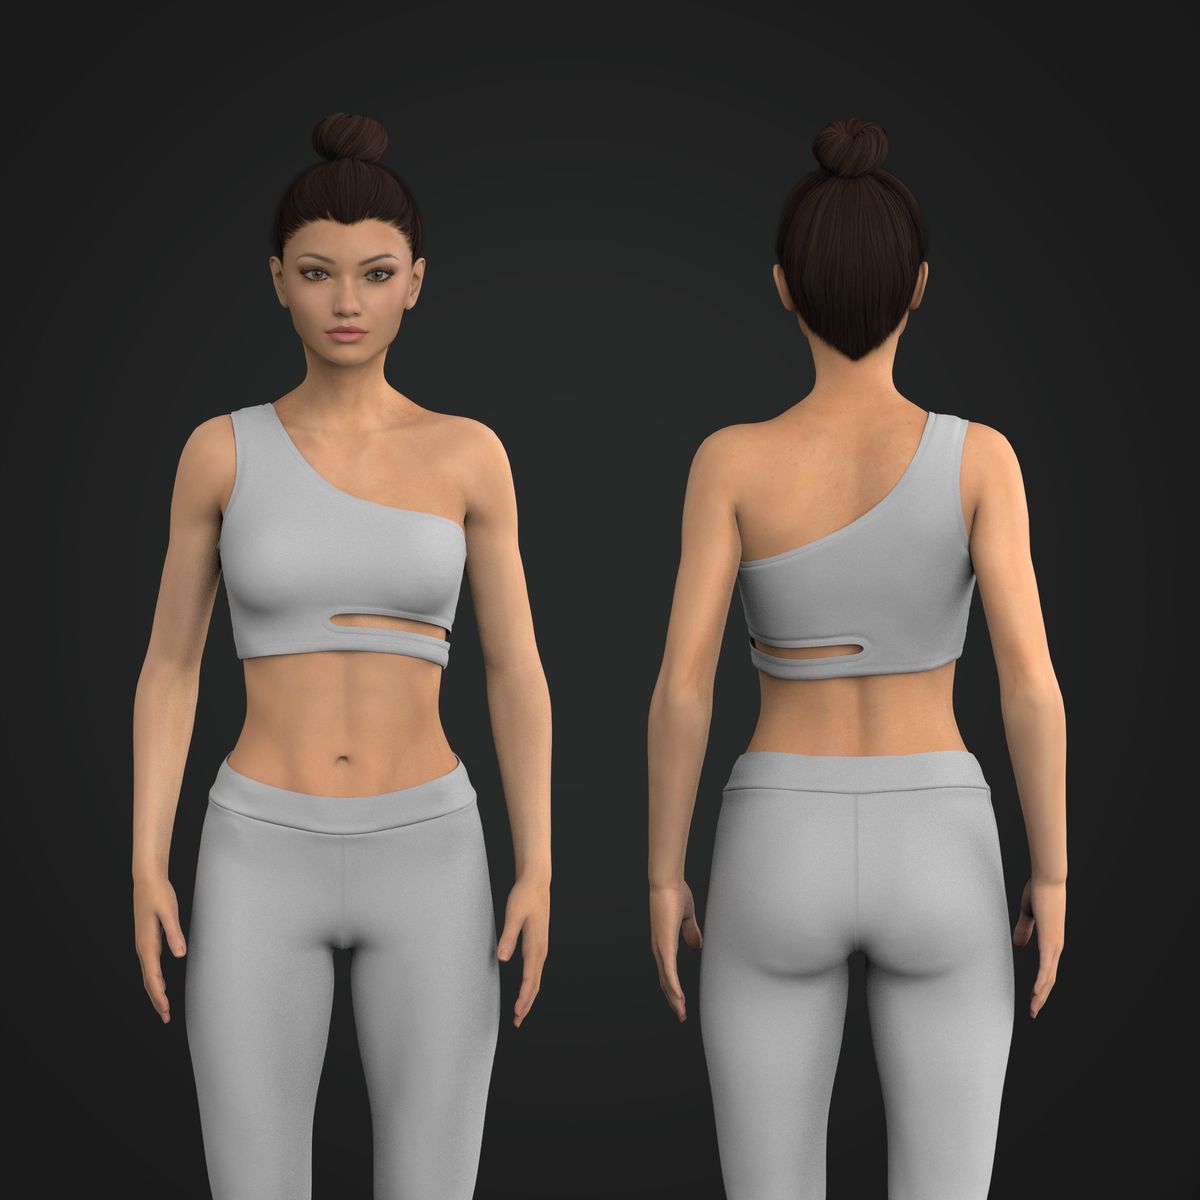
LADIES ONE SHOULDER SIDE CUT-OUT SPORTS BRA BY FITTDESIGN
Bill Of Materials Or BOM
On the bill of materials page, you will find all the details about the fabric, lining, combination fabrics, trims and sundries, thread color and thickness, sewing and packing labels, or trim card. Information about consumption and the suppliers if available is also helpful to mention here.
If a printed copy of the tech pack will be sent to the manufacturer, it will be best to include cut swatches of actual fabrics or a representative of something similar, a sample of buttons, closures, etc.
The Bill of Materials will give you an overview of what raw materials were used to create the garment.
Garment Specs And Point Of Measurement (POM)
The tech pack should include the size specifications of the design. Bigger factories that are more established already have pattern blocks that can be used if none is available. The specs should indicate the sample size and should also include the graded specs once available.
Most brands have specific ways on how they come up with their specs. This largely depends on their target market and how they would like the public to view their image. Some brands have been known to undersize as a marketing strategy. Women tend to feel good if they feel that the size of their clothes is smaller than what they actually are.
Points of Measurement or POMs are a set of guidelines to make sure that whoever is measuring the garment will be measuring on the same spots as specified in the guidelines. This ensures an apple-to-apple comparison for quality check.
Different brands can have different ways to measure their garments so it is important to take note of this when talking to manufacturers.
The important thing to consider is that you and your manufacturer should be measuring the garment the same way to avoid confusion.
Worksheet
The worksheet is a tracking sheet that helps you log all the activities that transpire in the course of development to production. It will ensure that deadlines are met and schedules are on track. This should include dates of sending and receiving samples, comments, and revisions, any changes that might arise, amendments to previous agreements, and other significant movements that will affect the progress of the development or production.
Costing Sheet
Some tech packs include the costing sheet. It includes the CTP or the cost to produce the garment. If you are sourcing the suppliers of the raw materials and the manufacturer separately, it is important to keep track of the spending cost per garment to make sure that you are within your acceptable budgeted allowance.
Take note that this is an internal document and contains information that should be seen only by authorized people.
Key Points
There are many ways to create a tech pack, but its function remains the same. It should be able to clearly communicate to the manufacturer what the designer has envisioned so they are able to make the vision a tangible product.
The best way to test if the tech pack has been done properly is if the first sample comes out with very minimal revisions.
In truth creating a tech pack is time-consuming. It is a very tedious task due to the amount of details needed to complete and organize it. However, when you see its value, all the effort pays off in the end
If you'd like to see tech pack templates we've made for t-shirts, hoodies, joggers, leggings, etc.... please check out our templates section.
Additional Resources
About FittDesign
FittDesign is a full-service design and production company specializing in the sportswear and activewear industry. We provide comprehensive solutions including innovative design, detailed technical packs, and high-quality manufacturing. Our expertise supports brands in creating functional and durable sportswear that meets the demands of a competitive market.
Ready to Bring Your Activewear Vision to Life?
Contact Us today and let’s get started on your project!